Marrying your best friend will make your wedding one of the best days of your life.
It is going to be a beautiful experience, especially with both sets of your loved ones there to celebrate all the joy and happiness with you. However, the planning of your dream wedding itself can feel a bit overwhelming. Many of us have been painting the picture-perfect wedding in our heads since we were little kids playing dress up and fantasizing in our own little worlds. Vision after vision, our tastes would change as we got older and grew nearer to the actual time to finally put everything together for the biggest day of our life. So, if you’re wondering what details it will take to set the perfect tone – we understand and we’re here for you.
Assuming you probably pray for more hours in each day, because there seriously isn’t ever enough time, we have created a resource to help make the assembling process that much easier. There are many nuances to creating a truly luxurious wedding invitation, which you know to be one of the most important details for establishing the overall look and feel of your wedding.
That being said, we came up with a thorough guide on how to assemble your dream wedding invitations to perfection. We wholeheartedly believe that every invitation suite should perfectly match your signature style, while keeping tradition in mind.
With any assembly process, the first step towards success is to create each piece that is needed for the final product. You can’t bake a wedding cake without having the right ingredients and decorative pieces first, right?
For an easy step by step assembly process that will only result in having the most luxurious wedding invitations for all of your guests to rave about, please read on!
How to Assemble Luxurious Wedding Invitations
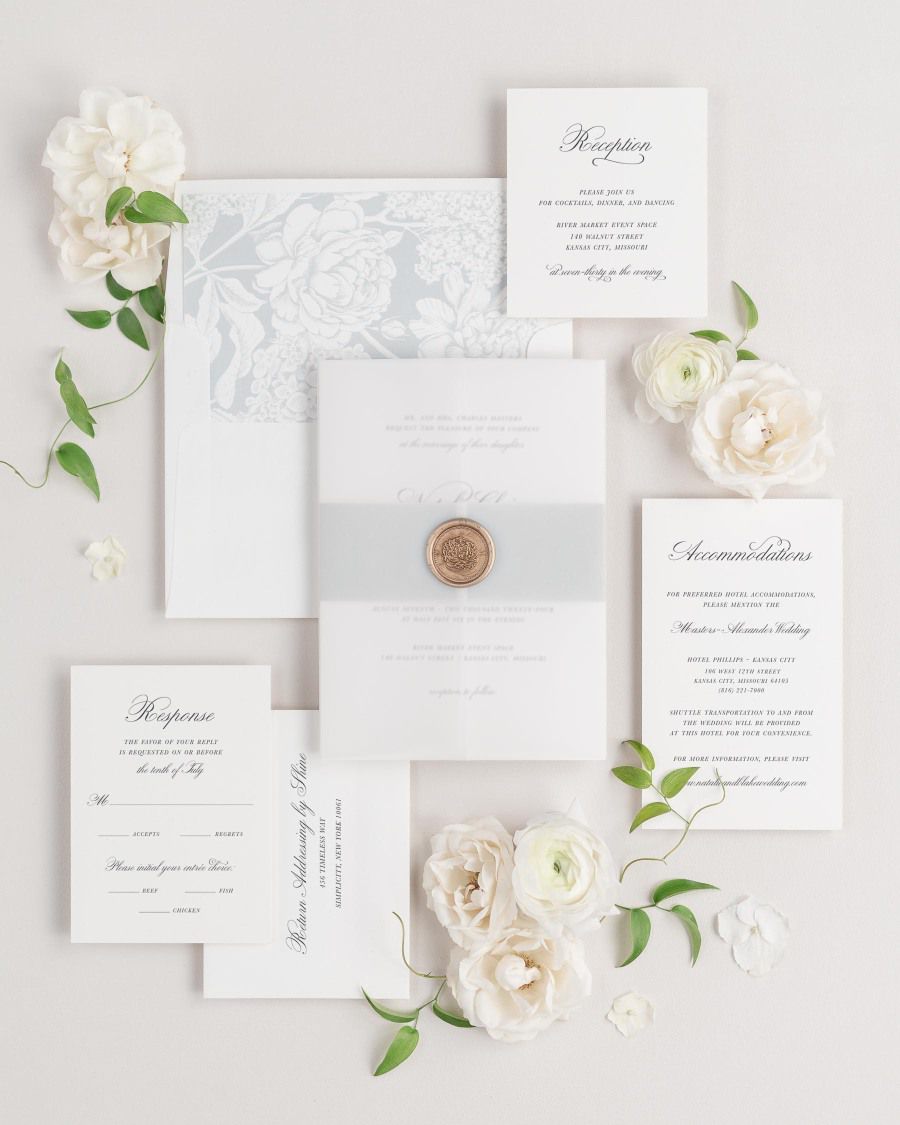
Before jumping into the actual assembly process, below is a list of the different pieces, as well as short descriptions for each, you can include in your own unique wedding invitation suite.
Wedding Invitation Pieces
INVITATION
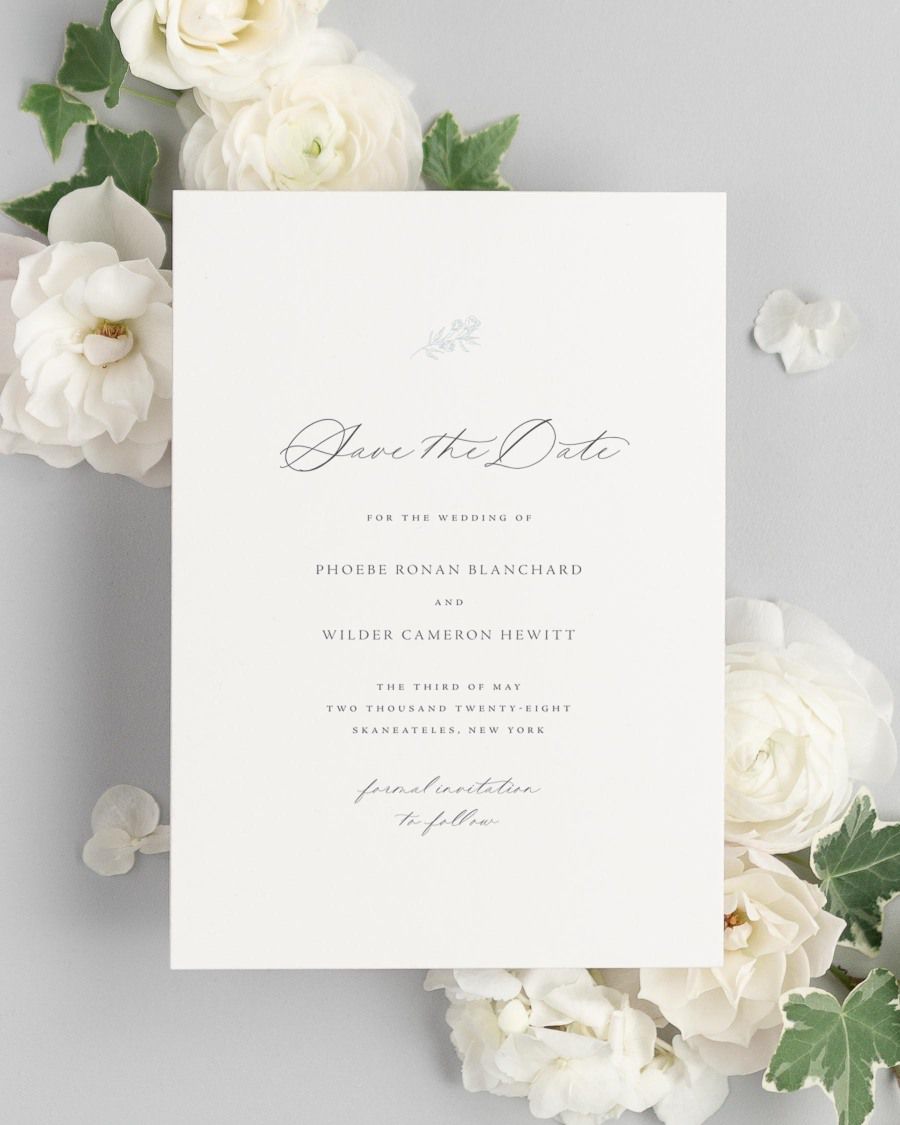
The invitation is the most important piece within your suite. It provides the names of who is getting married/hosting, when the wedding will occur, what time the ceremony begins, and where the event will be held. If you are having trouble visualizing this type of wording, you can find some wording examples here.
RESPONSE CARD
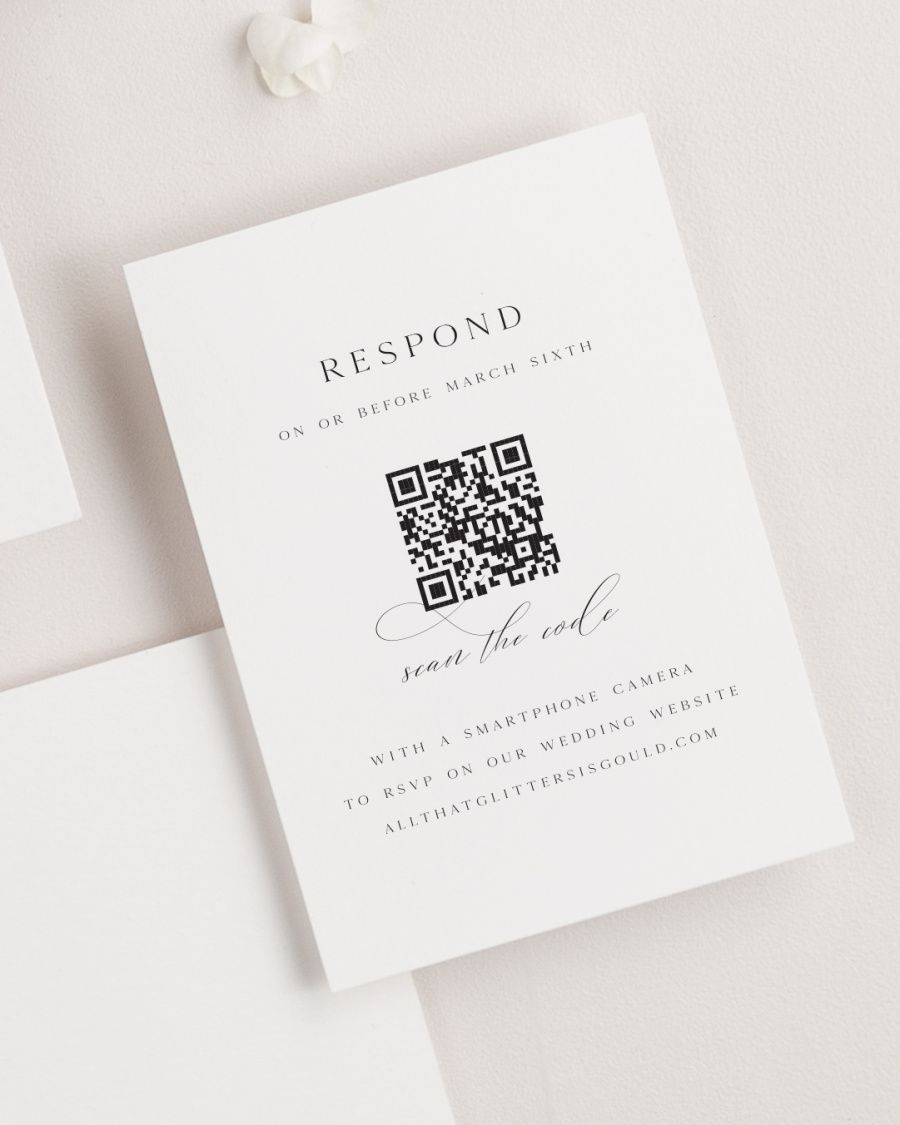
This is the second most important piece to your wedding invitation suite. The response card is meant to be sent back to the couple getting married with the accepts or regrets information for each guest invited to the event.
It typically includes a reply by date for when the card needs to be returned, an m-line for the guests to fill in with their name(s), and an accepts/regrets line for which the guest will be able to fill in whether or not they’ll be in attendance. However, there are many variations to this card. For example, if you are having select meals at the reception and you want to know what your guests prefer, this card is a great way to also receive that information!
ENCLOSURES
These enclosures are great for including additional information for your guests! We typically use them for either accommodation or reception details, but there are many things you can use them for. Below are more examples for each size that are commonly used.
Small EnclosureThe small enclosure is typically used for reception details, but is also great for wishing wells, registries, parking information, proper attire, or websites.
Large EnclosureAs for the large enclosure, we typically see this piece used for accommodations, travel info, or a schedule of events. However, we have also seen it used to combine smaller bits of information together or used as a map. The choice is completely up to you!
ENVELOPES
There are two envelope styles for your wedding invitation suite: single envelopes and double envelopes.
Single Envelope StyleThis style is commonly used and only available for our classic wedding invitations and vellum wedding invitations. It consists of one invitation envelope and one response card envelope. The names of all invited guests should be placed on the front along with the mailing address. Your return address should be placed on the envelope flap.
Double Envelope Style – Highly RecommendedAvailable for all of our wedding invitations and required for our floral wedding invitations, ribbon wedding invitations, and letterpress wedding invitations. This style includes an inner and outer envelope for mailing each invitation suite. Double envelopes are more formal and traditional. The outer envelope is meant for mailing and should list the household name and address on the front. The inner envelope is used to hold the invitation suite and list the name of each guest in order to eliminate any confusion as to who's actually invited. The inner envelope is not gummed since it will not be sent through the mail. It also acts as an additional layer of protection during mailing and allows your guests to have a clean, unmarked envelope for holding their invitation suite.
Bringing All the Pieces Together
Let, the assembly process begin! Gathering up the wedding pieces can feel similar to rounding up groomsmen for a photo – a little tricky, when they are so excited to be together, but absolutely glorious when all is said and done.
Below is a list of the exact order for how to assemble your invitation suite. This step-by-step guide to success is so everything in your order is perfectly bound together for when you’re ready to sign, seal, and deliver the invites. We recommend working your way from the bottom of the suite to the top. You’ll start with the invitation and then after each piece is added on top, like another layer, you’ll be able to stuff it into your envelope for completion.

The proper order for assembly is as follows:
- Invitation (printed side up)
- Large enclosure (printed side up)
- Response envelope (printed side up, the flap on the right side)
- Response card (printed side up)
- Small enclosure (printed side up)
- Then, bound it together with a belly band
HOW TO APPLY A BELLY BAND
If you’re using a belly band to wrap your stationery together, please follow the following steps.

- Lay the belly band over your neatly stacked suite, centering the personalization.
- Apply pressure with your thumbs to the top of the band and enclosures to hold everything in place.
- Wrap your index fingers around the back of the invite – you should be able to pick the suite up without anything moving.
- Flip the suite towards you, so all of your information is face down and carefully pull one end of the band over the back and crease it. Repeat with the other end.
- Pull both ends of the belly band tight, without bending the sides of your stationery.
- Adhere together with the included glue dots.
Then viola! You’re finished assembling your first invitation suite.
HOW TO APPLY THE VELLUM JACKET AND WAX SEAL
If you also have a vellum jacket and wax seal included in your order, please follow the below steps on how to elegantly wrap your suite with some out finest embellishments.

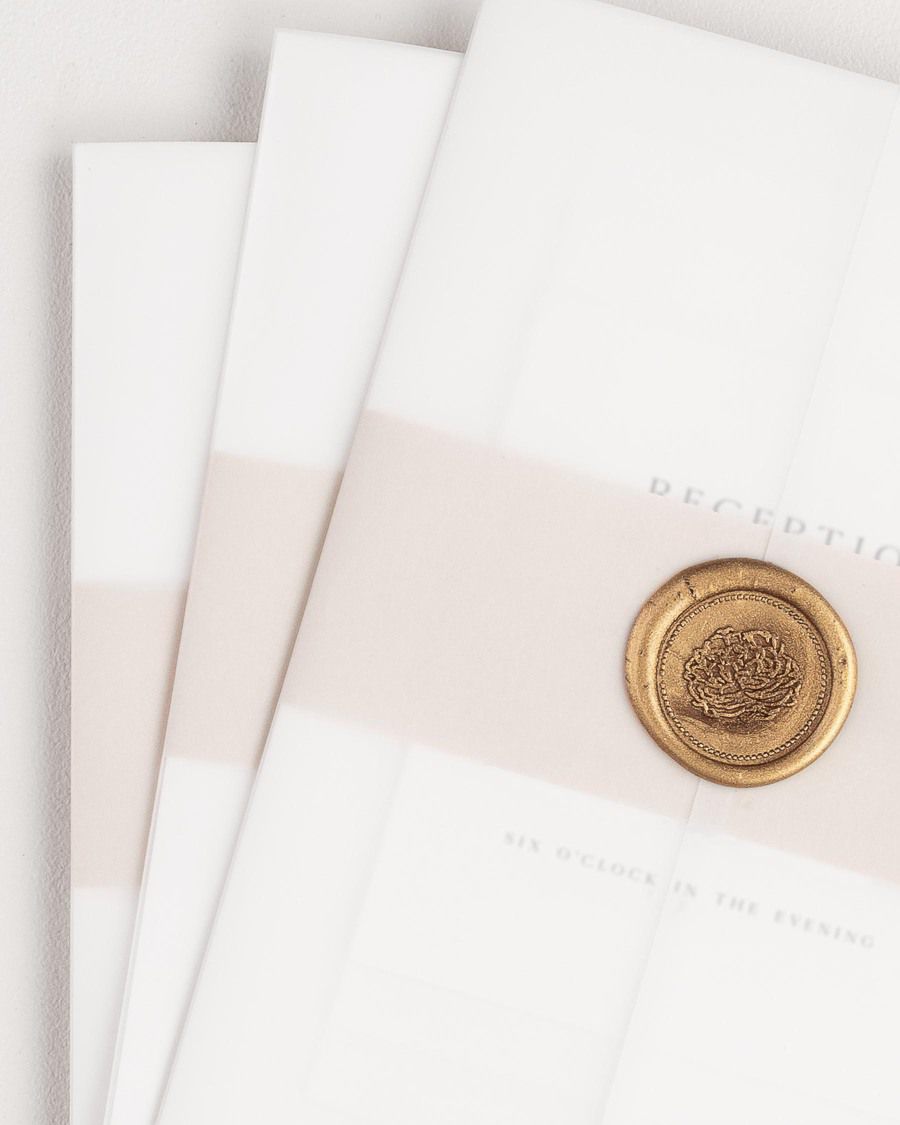
- Your vellum jackets will ship to you flat, ready for assembly. We recommend folding the left side of the jacket along the pre-scored line to make it easier to slide your assembled suite into.
- Slide your suite into the folded area of the jacket and pinch with your left hand.
- After your suite has been centered within the vellum jacket, you may fold the right side along the other pre-scored line.
- Once both folds have been made and your jacket slightly overlaps on the front of your invitation, you may place your wax seal to hold the flaps closed. Please note, you will need to expose the adhesive on the back of the wax seal before placing in place.
LAST, BUT NOT LEAST, HOW TO TIE YOUR SILK RIBBON
This elegant option will definitely bring your invitation suite to the next level of beautiful! Our 100% silk charmeuse ribbon is both charming and romantic. Tying your wedding invitations with silk ribbon, either by itself or in addition to your belly band, can be a bit challenging the first few tries. Due to the delicacy of the material, the ribbon will have a little bit more room for your pieces to move around. Below is a step by step process of how to tie your suites with perfection.
Ribbon arrives on wooden spools – approximately 4.5 yards in length, with a width of 1.75”. We highly recommend cutting your ribbon into 22” for portrait oriented invitations or 31” for landscape oriented invitations, with the use of fabric shears or scissors that have not cut paper before. This will ensure a clean straight cut.

- Place your cut ribbon piece on the table in front of you, matte side up. You can then place your invitation suite in the middle on top.
- Fold both ends across the front of the invitation suite and tuck the left end under the right end.
- Pull both ends tight and place your right middle finger in the middle of the twist to prevent the tie from coming loose.
- While you continue to apply pressure to the twist, use your left hand to fold the bottom piece upward, so it is parallel to the other end piece.
- Next, fold the left end over top of the right and tuck it through the hole in the middle, like you’re tying your shoe.
- Continue applying pressure to the twist while pulling the two ends tight.
Please note, when ribbon wedding invitations are purchased or if you plan on using ribbon to tie around your wedding invitation suites, we highly recommend also using double envelopes. This will better protect your stationery when traveling through the mail to your guests. The beautifully tied invitation can be placed inside in the inner envelope, which is then put inside the outer envelope. This gives the beautifully tied invitation the protection that it needs.
THE BEST WAY TO ASSEMBLE DOUBLE ENVELOPES (AND ENVELOPE LINERS!)
If you have decided to go with the utmost traditional style of envelopes for your luxurious wedding invitations, then you’re in the right place! Double envelopes can be a bit tricky, because why would one need two invitation envelopes per invitation suite? We’re here to explain the importance and meaning of how two envelopes are better than one.
Starting with envelope liners, these will be installed inside the inner envelope. Below is a simple walkthrough of how to accomplish this task.

- Grab the two things needed for this part of the process – inner envelopes (the ones without gumming on the inside of the flap) and your envelope liners. If your inner envelope flaps are closed, start by opening all of them up so they lay semi-flat to your table surface.
- Stuff one of the envelope liners into the inner envelope (tape strip side towards the top). Before peeling off the glossy paper protectant, slide the liner into place (about a quarter inch from the top). Once in place, peel off the backing of the adhesive. Press firmly to stick the envelope liner to the envelope and fold flap over to crease liner in envelope. Please note, you may need to use your thumbs to hold the liner close the to flap, so the fold is made in the right location.
Now that your inner envelopes are assembled, we can put the finishing touches on your suite and get them ready for mailing!

- Make separate piles of all the things you need – invitation suites, assembled inner envelopes, and outer envelopes.
- Rotate one of your suites to the left and stuff into an inner envelope.
- Once the suite has been placed all the way to the bottom of the inner envelope, you may fold the flap closed. This image also shows what the front of the inner envelope should looks like. This is where the guests, actually invited to the wedding ceremony/event, will be printed.
- Next you will place the inner envelope into the outer envelope. Each of your outer envelopes will have the gumming strip at the edge of the flap for sealing purposes.
- Slide each inner envelope all the way to the bottom of the outer envelope.
- Lastly, you may fold over the flap and seal it for mailing.
Now, take a moment, and pause, while you look at your first fully assembled and sealed wedding invitation suite. Know that the next time this envelope is opened, it will be by a loved one who feels absolutely delighted to be receiving an invite to your amazing milestone. Congratulations! It’s smooth sailing from here.
The Easy Way to Customize Your Invitation Suite
We support our Shine brides by providing elegantly designed wedding invitation suites with many gorgeous matching accessories, allowing them to set the tone of their dream wedding day before it begins.
Included in each stationery shipment is a very easy-to-follow instruction card for additional assembly support. We want each experience to be seamless and simple for all of our brides – from ordering their invitations, to receiving and assembling, to sealing and shipping each envelope out to their very special guests.
To learn more about our process, please explore our wide array of classic and luxurious wedding invitations here.


Order a Custom Sample Set
Experience our papers, colors, and printing in person.
Not Sure Where to Start?
Take our styling quiz to find the right look and configuration for your stationery.
Bring Your Vision To Life
Browse our invitations and find the perfect design for your wedding.
A Difference You Can Feel
Make a statement with our luxurious letterpress wedding invitations
See Us Shine
Client visions brought to life #shinenewlywed


